
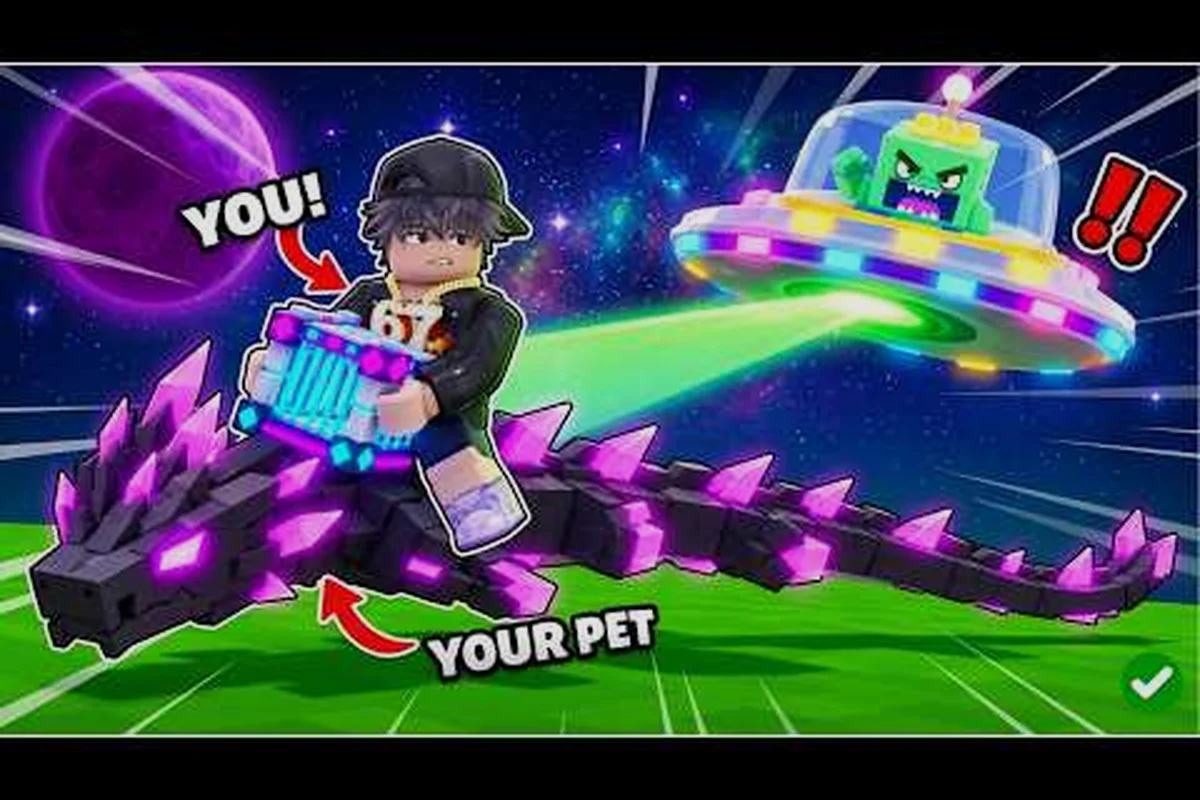
A reliable Steal A Pet And Ride It item checklist should map each tool to a specific need: use the lasso to control the thief’s movement, deploy traps to block escapes, and keep 2x Candy ready for a better escape reward. Carrying the right combination matters because consuming an item at the wrong moment can cost both the stolen pet and your chance to ride it safely.
The Item Checklist at a Glance
The best inventory setup depends on what happens after you take a pet. A cage opener with excellent speed can still fail if a thief blocks the exit, while a strong trap becomes useless if you have no room to place it. This checklist therefore divides equipment by purpose rather than presenting one universal tier list.
| Checklist category | Essential items or benefits | Best use | Priority |
|---|---|---|---|
| Cage opening | 3x Open Speed, 2x Candy when available | Reduce opening time and collect event currency faster | High |
| Escape | Speed boost, movement control, familiar routes | Reach safety after taking a pet | High |
| Rival control | Traps, stun tools, lasso | Create space near valuable cages | Medium to high |
| Theft defense | Defense items or passive protection | Reduce the impact of a thief encounter | Medium |
| Event value | 2x Candy and event-specific rewards | Improve Halloween currency gains | Situational |
3x Open Speed is especially valuable because it shortens the cage-opening animation. 2x Candy improves the rate at which Halloween event currency accumulates, although it does not replace good timing or a clear escape path. Before opening a cage, confirm that your route remains open and that the nearest thief cannot intercept you immediately.
A practical run should follow a staged sequence: use 3x Open Speed on a cage that has a clear thief-free route, activate 2x Candy only when the event multiplier is available, and prioritize speed or movement control over extra equipment that cannot prevent an interception. If a rival is already near the cage, a trap, stun tool, or lasso can buy time, but it should be placed where you can recover the pet without blocking your own escape. After a successful theft, keep enough movement capacity to reach safety and preserve a backup path for the return trip.
-
Carry a speed or opening-time improvement whenever one is available.
-
Keep enough movement capacity to react to a thief approaching the cage.
-
Equip a trap when you have a safe placement zone.
-
Bring a lasso when you expect to control a rival rather than simply avoid one.
-
Treat 2x Candy as an event accelerator, not a guarantee of faster openings.
-
Keep a backup escape route even when your inventory looks complete.
For event currency and additional cost comparison, the overview of speed items and candy currency can help you decide whether a particular upgrade improves your regular loop or only the Halloween grind. For example, if a speed item adds little benefit after the cage-opening animation but greatly improves movement during a thief encounter, it may be more valuable for escape than for farming. By contrast, 2x Candy directly increases event-currency accumulation, making it worthwhile when the multiplier is available. Compare the item’s practical effect on 3x Open Speed, 2x Candy, and route control rather than treating every upgrade as a permanent farming improvement.
Items for Faster Cage Openings
Fast cage opening depends on reducing wasted movement, not simply collecting every visible upgrade. The useful sequence is to approach from the correct side, begin the opening as soon as the interaction becomes available, and avoid beginning when a thief is already approaching. Even with 3x Open Speed, poor positioning can erase the benefit because you may need to cancel, retreat, and return.
| Opening-related option | Direct benefit | Best stage to equip it | Limitation |
|---|---|---|---|
| 3x Open Speed | Shortens the cage-opening time | Cage interaction and opening sequence | Does not protect you after the pet is taken |
| 2x Candy | Doubles the rate of qualifying candy gains | Active event play | Does not change cage-opening speed |
| Auto Collect | Removes manual barn pickups | Farming and return trips | Offers little during the critical escape |
| Basic movement speed | Improves travel between targets | Approach and escape | May not justify the same cost as opening speed |
Community reports emphasize that Auto Collect is helpful for collecting barn rewards, but it does not replace 3x Open Speed during the decisive interaction. That distinction matters because a steal is not complete when the cage opens; it is complete only when the pet and player reach safety.
Item Checklist: Preparing the Route Before Opening
Watch the thief’s position before touching a cage. If the thief is moving toward the same area, choose another target or create distance before beginning. The opening animation should be treated as a vulnerable window even when the player has high speed, because the cage may become a fixed target for pursuit.
A practical pre-opening routine is to compare the cage’s potential value with the thief’s threat range, then plan a route that keeps your lasso path clear and your trap usable. For example, a high-value cage beside the thief’s likely lane needs a wider detour than a low-value cage near a safe exit. This matters because each opening animation creates a fixed commitment point, so an apparently faster grab can become riskier than skipping the target.
-
Identify the cage, the exit lane, and at least one fallback path.
-
Check whether nearby players are also targeting the same cage.
-
Open only when the thief has committed elsewhere or cannot intercept you.
-
Turn toward the exit immediately after the cage opens.
-
Keep a trap ready for the ground behind you if the route narrows.
Players who build around the cage prices and event shop lineup can also prioritize which targets deserve the safest opening attempt. A valuable pet deserves a cleaner route; a lower-value target may be worth skipping if the area is crowded.
Choosing the Right Lasso
A lasso is most useful when the rival’s movement, rather than raw damage, is the problem. It can interrupt a chase or make a rival waste time near your escape route. Players should choose the moment to use it carefully, since an early throw may give the target enough warning to change direction.
The best lasso setup depends on your control goal. A longer control window is useful in open areas, while a compact route favors a quick reset. Use the detailed lasso and control-item breakdown to compare the lasso with tools such as banana peels and Candy Talisman effects before committing Robux or event currency.
| Situation | Recommended approach | Reason |
|---|---|---|
| Open field with a chasing rival | Use the lasso to create a distance gap | The extra space protects the opening and escape |
| Narrow path near a cage | Save the lasso for the tightest section | Early use may reveal your intended exit |
| Rival has better movement speed | Redirect with a control item | Control is more valuable than a direct speed race |
| Several rivals are present | Place a trap before using the lasso | The trap prevents another rival from closing the gap |
When to Use the Lasso
Use it when a direct running contest is unfavorable. If a faster rival can remain close to the cage, slowing or redirecting that rival often produces a better result than trying to outrun them. The lasso also works well as a response to predictable pursuit: players frequently follow the shortest path, so a well-timed interrupt can break their momentum.
Avoid relying on a single control item for the whole route. A missed throw, an avoidable obstacle, or a rival with a different route can consume the opening. Save a trap for a second defensive layer, or use the lasso after the thief has committed to pursuing rather than before the target becomes clear.
Lasso timing is the decisive point, not the number of lassos carried. One well-placed control item can protect a cage opening, whereas several poorly timed throws can reveal your route and cause the thief to change direction. For example, hold the lasso until the thief commits to the shortest pursuit line; a throw across that line can interrupt their run before they reach the cage. If the thief switches lanes or abandons the chase, keep the item ready for a second angle instead of spending it immediately on the first target.
Traps for Route Control
Traps work best when they control the space behind or beside a valuable cage. Placing one in an open area may create a distraction, but a trap beside a clear escape lane can interrupt a thief who is closing from behind. The useful question is not whether a trap exists; it is whether its location matches the direction from which danger will arrive.
| Trap placement | Expected result | Best moment to place it | Common mistake |
|---|---|---|---|
| Behind the cage | Interrupts a direct rear pursuit | After confirming the thief’s approach | Placing it where no rival will pass |
| At the exit turn | Forces a rival to slow or change direction | Before the final sprint | Leaving no room to dodge around it |
| Between two cage rows | Divides pursuit routes | When targeting the middle of a crowded area | Blocking your own escape |
| Far from the target | Creates noise or confusion | During a lower-risk farm route | Expecting it to protect a distant cage |
A practical trap sequence is to identify the likely pursuit angle, place the trap slightly beyond the cage rather than directly on it, and then take the escape route. Keep enough space between yourself and the trap to avoid being caught by your own defense. Players who want a deeper comparison of these tools can review the limited items and anti-thief equipment guide.
Combining Traps with Speed
Traps and speed solve different problems. Speed reduces the distance a thief must cover, while a trap interrupts the moment the thief arrives. Combining them is strongest when the trap removes a small amount of time and the speed upgrade converts that advantage into several extra steps of distance.
Do not place every trap during a single route. A cluttered escape corridor can slow you down, especially if the tool requires interaction. One trap at the likely pursuit point is usually more reliable than a cluster placed without a clear plan. Players also need to account for nearby rivals, since a trap that blocks one person may simply redirect another toward your pet.
Route control is more valuable than raw trap quantity because the best trap placement protects the route you will actually use rather than the route you hope the thief will take. If the thief follows your lasso path, position a trap at a narrow corner or an unavoidable doorway along that path, then use speed to delay the pursuit. This preserves your escape route, denies rivals an easy redirect, and makes each trap delay count instead of merely adding obstacles to a route the thief may ignore.
Managing the Thief Threat
The thief is the consistent threat that determines whether a fast opening becomes a successful steal. You do not need to defeat the thief in every encounter; you need to prevent the thief from interrupting the cage interaction or catching you before you clear the area. This makes route awareness more important than carrying one expensive item.
| Thief behavior | Early warning | Best response | Item priority |
|---|---|---|---|
| Moves toward your selected cage | Thief changes direction toward your target | Delay the opening and relocate | Speed or a trap |
| Follows after the cage opens | Pursuit begins immediately | Use the planned escape lane | Movement speed |
| Cuts across a shortcut | Thief appears between you and safety | Redirect or interrupt the thief | Lasso or other control tool |
| Stays near the hub | Your route crosses a repeatedly watched zone | Wait for a safer opening window | Route choice |
| Approaches during the return trip | Pressure returns after the steal | Keep a trap ready near the exit | Trap and speed |
Avoiding the Thief Without Overextending
Watch where the thief looks and how the thief reacts to nearby openings. If a rival opens a cage and the thief immediately reacts, wait until that pressure has moved. Starting a steal during the response window can force you to compete for the same route the thief is already watching.
If the thief catches you, protect the valuable pet rather than turning the situation into a long contest. Run toward open space, use a trap to interrupt the approach, and redirect with a lasso if the thief closes the gap. The objective is a clean chain of escapes, not a risky standoff that delays every later attempt.
The game’s badge list includes escape streaks at 50, 150, and 300 consecutive escapes, while a separate Speed Demon badge requires reaching 1M Speed. These thresholds, confirmed during research on October 30, 2026, show that repeated clean escapes are a measurable skill objective. Item setup helps, but only if each successful attempt ends with a safe reset rather than a chain-breaking capture.
Priority Builds for Different Items
The strongest inventory depends on your objective. Players who focus on event currency need different priorities from players who chase rare pets or escape streaks. Build around the bottleneck in your current session instead of buying a disconnected bundle of attractive upgrades.
| Player goal | Best build | Secondary consideration | Items to deprioritize |
|---|---|---|---|
| Maximize event currency | 2x Candy plus efficient route planning | Auto Collect for repeated barn pickups | Cosmetic extras with no event value |
| Open cages quickly | 3x Open Speed | A safe route and one control item | Extra inventory beyond the route |
| Improve escape streaks | Movement speed and trap placement | Lasso for dangerous shortcuts | Items that increase risk without protection |
| Contest crowded areas | Traps, lasso, and speed | Flexible escape route | Slow or situational items |
| Collect limited rewards | High-value cage selection and careful timing | 2x Candy when the event is active | Spending currency without a target plan |
For a broader view of shop availability and event progression, the item shop and Halloween currency overview can help connect upgrades with the rewards you are trying to earn. Use it to check whether 2x Candy, 3x Open Speed, movement speed, traps, or the lasso are available before planning a route, because acquiring one upgrade can change the best target order. For example, pair 3x Open Speed with a safe escape route when opening cages quickly, while reserving 2x Candy for active event currency runs; spending early on cosmetics can leave fewer coins for higher-value pet selections.
The Practical Priority Order
Begin with 3x Open Speed or the strongest opening improvement you can afford, because shortening the interaction reduces the amount of time your position is vulnerable. Add movement control next, either through speed or a control item. Traps and the lasso become more valuable as the surrounding area grows more crowded.
Event progression changes the order. During a limited Halloween event, 2x Candy becomes a high-priority multiplier if you can continue gathering candy safely. Outside the event, save scarce currency for items that improve every steal rather than temporary cosmetic extras. The official event information states that some Halloween content was available only through November 8, so limited rewards and event multipliers should be evaluated with their availability window in mind.
When to Stop Buying Upgrades
Stop upgrading when your current bottleneck is skill rather than equipment. If you consistently open cages but lose escape streaks, add route control or a trap. If you escape easily but spend too much time opening cages, prioritize 3x Open Speed. If you perform well but earn less candy than expected, compare your route with the event requirements and consider 2x Candy.
This decision framework prevents unnecessary spending. Build the smallest inventory that fixes your current failure point, then test it across several thief runs before adding more gear. For example, if poor lasso targeting is causing repeated losses, improve control and trap timing before buying another damage item; if the route works but cage opening drags, compare the available 3x Open Speed value against the coins you can earn during that window. Every upgrade should create a measurable advantage—such as fewer failed escapes, faster pet collection, or better 2x Candy returns—without making your movement slower, your loadout less flexible, or your escape route more predictable.
A Step-by-Step Checklist for Every Steal
A repeatable checklist reduces hesitation when a high-value cage appears, because each item has a clear purpose rather than competing for attention. Observation should come first: scan for nearby thieves, traps, and guards before committing to the cage. Preparation comes second, including the Steal A Pet And Ride It lasso, usable 2x Candy, and escape items. Only then should the player open the cage, followed by the fourth-stage escape plan, since looting without a clear route often turns a profitable Steal A Pet And Ride It attempt into an immediate capture.
Before the Cage Appears
-
Confirm that your speed, opening tool, and control item are equipped.
-
Identify the thief’s current patrol direction.
-
Choose a cage that offers a clean exit rather than the nearest target.
-
Check that another player is not already committing to the same area.
During the Opening
-
Start only when the thief cannot intercept you immediately.
-
Keep your character oriented toward the escape route.
-
Avoid opening cages directly beside a narrow passage.
-
Treat the opening animation as a vulnerable period even with 3x Open Speed.
After the Pet Is Taken
-
Leave the cage without pausing to inspect the reward.
-
Use a trap only if pursuit enters your planned lane.
-
Use the lasso when the thief or a rival can close the distance faster than you can run.
-
Redirect toward open space if a shortcut is covered.
After a Successful Escape
-
Reset your route before targeting another cage.
-
Confirm that Auto Collect has gathered barn rewards when applicable.
-
Review whether 2x Candy or another multiplier is active during event play.
-
Save risky attempts until the thief moves away from your preferred cage.
A good checklist should make you faster, not more cautious by default. The checklists for Steal A Pet And Ride It items become valuable when each tool has a clear trigger, such as opening speed for cage interactions, a lasso for a closing rival, and a trap for the likely pursuit angle.
Frequently Asked Questions
What should I prioritize first in the Steal A Pet And Ride It item checklist?
Prioritize 3x Open Speed, reliable escape speed, and one control option for your route. These tools address the main stages of a steal: opening the cage, leaving the area, and handling a pursuing thief. Add 2x Candy when active event rewards are your main goal, because faster candy collection does not shorten the opening itself.
Is a lasso better than a trap for escaping a thief?
A lasso is better for redirecting a fast rival or creating an immediate gap, while a trap is stronger for guarding a predictable route. Use the lasso when the threat can reach you within seconds; use a trap when you have time to place it at a turn or behind your cage. Carrying both is useful only if you can assign each one a clear purpose.
Does 2x Candy make cage opening faster?
No. 2x Candy improves qualifying Halloween currency gains, but it does not reduce the cage-opening animation. Use 3x Open Speed for faster openings and the candy multiplier for event progression. Players should never stand in a risky location merely to receive a passive currency bonus.
How many escape tools should a player carry?
Carry one opening upgrade, one movement or control option, and at most one route-control trap for most runs. Extra items create little benefit if they cannot be deployed quickly. The quantity matters less than placing the trap before it is needed and reserving the lasso for a rival who can actually close the distance.
What is the best way to build an escape streak?
Open cages away from the thief, commit to a clear exit lane, and preserve enough speed or control to interrupt a pursuit. A trap can protect the most likely approach, while a lasso can break a chase in the open. Practice on lower-risk targets first, because earning the 50-escape badge requires consistency more than a single spectacular steal.